
Myofascial Release: Benefits & Home Guide
Discover how myofascial release may improve mobility, soreness, and recovery with safe self-myofascial release drills at home.
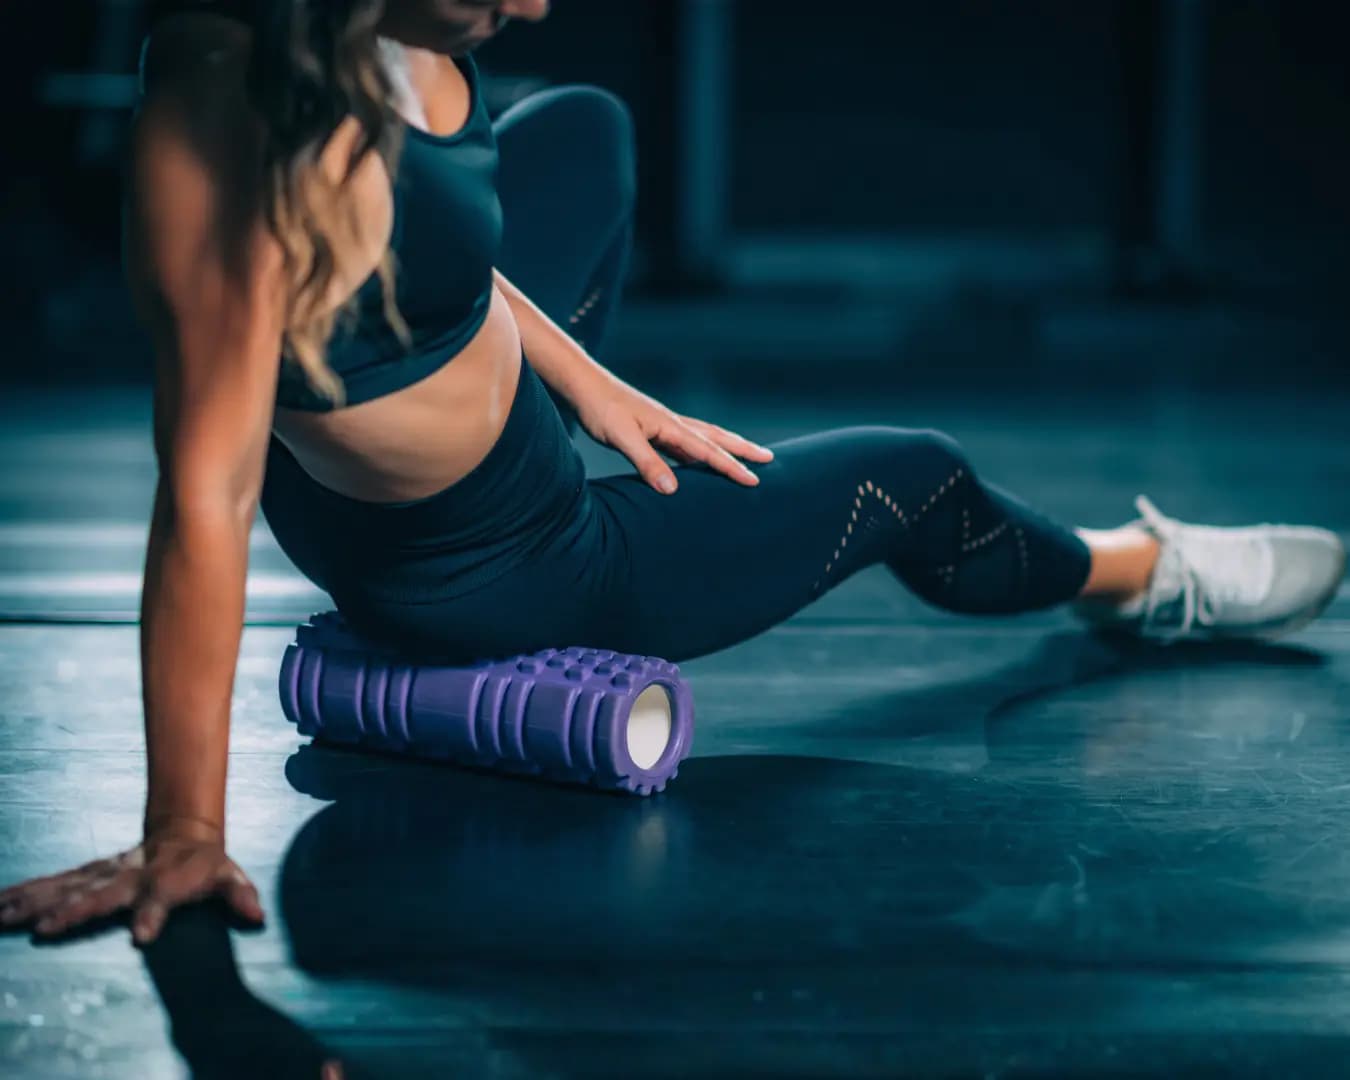
Myofascial release is a soft-tissue technique used to apply pressure to muscles and fascia, often with the goal of reducing tension, improving range of motion, and supporting recovery.
In a clinical setting, myofascial release may be performed by a trained therapist. At home, the practical version is usually called self-myofascial release, or SMR.
Self-myofascial release uses tools like:
foam rollers
massage balls
lacrosse balls
roller sticks
your own bodyweight
The goal is not to “break up” tissue aggressively. A smarter goal is to apply controlled pressure, reduce perceived tightness, improve movement comfort, and prepare the body for better training.
Note: This article is educational and not medical advice. If you have severe pain, nerve symptoms, recent injury, vascular conditions, osteoporosis, blood-clot risk, or unexplained swelling, consult a qualified healthcare professional before trying myofascial release.
Understanding Fascia
Fascia is connective tissue that surrounds and supports muscles, bones, nerves, organs, and blood vessels.
It helps create structure and connection throughout the body. When muscles feel stiff, tender, or restricted, people often describe the issue as “tight fascia” or “knots.”
However, myofascial release should not be treated like a magic fix.
Tightness can come from many factors:
training fatigue
long sitting
stress
poor sleep
limited mobility
overuse
under-recovery
weak supporting muscles
That is why myofascial release works best as part of a complete routine, not as the only solution.
What Is Myofascial Release?
Myofascial release involves applying gentle to moderate pressure to soft tissue.
The pressure may help influence:
muscle tone
nervous system relaxation
local circulation
perceived soreness
short-term range of motion
When done at home, self-myofascial release is usually performed with a foam roller or ball.
Common areas include:
feet
calves
quads
glutes
upper back
lats
hamstrings
The PureFit Coach Team often uses self-myofascial release as a preparation or recovery tool, especially when someone feels stiff before training or sore after a strength session.
The Performance Benefits of Myofascial Release
Research on self-myofascial release suggests it may help with:
short-term improvements in range of motion
reduced perception of soreness after exercise
improved movement preparation
recovery after intense training
The important point:
Myofascial release should support training — not replace it.
If you foam roll every day but never strengthen weak muscles, improve mobility, or progress your workouts, the same tight areas may keep returning.
A better strategy is:
Release tension
Move through range
Activate the right muscles
Strengthen the pattern
How to Practice Myofascial Release Safely at Home
Use these simple rules:
- Start with light pressure. More pain does not mean better results. Aim for mild to moderate pressure. You should be able to breathe normally.
- Avoid rolling directly on joints or bones. Stay on soft tissue. Avoid direct pressure on the spine, knees, elbows, and other bony areas.
- Move slowly. Fast rolling often becomes random pressure. Use slow passes or pause gently on tender areas.
- Keep sessions short. For most areas, 30–90 seconds is enough to start.
- Follow with movement. After release work, use mobility drills or light activation exercises so your body learns to control the new range.
6 Myofascial Release Exercises You Can Try
Below are practical self-myofascial release drills that can be done at home.
1. Foot Release With Massage Ball
Tool: Massage ball or lacrosse ball
Target: Bottom of the foot
How to do it:
- Stand or sit.
- Place the ball under one foot.
- Roll slowly from heel to forefoot.
- Pause gently on tender spots.
- Continue for 30–60 seconds per side.
Why it helps:
Foot tension can influence how your lower body feels during walking, squats, and balance work.
2. Hamstring Release With Ball
Tool: Lacrosse ball or massage ball
Target: Back of the thigh
How to do it:
- Sit on a chair or firm surface.
- Place the ball under one hamstring.
- Slowly extend and bend the knee.
- Shift slightly to find tender areas.
- Continue for 30–60 seconds per side.
Coaching tip:
Avoid pressing behind the knee. Stay on the muscle belly.
3. Upper Back Roll
Tool: Foam roller
Target: Thoracic spine and upper-back muscles
How to do it:
- Lie on your back with the foam roller under your upper back.
- Support your head with your hands.
- Roll slowly from mid-back to upper back.
- Avoid rolling onto the neck.
- Continue for 45–90 seconds.
Why it helps:
Upper-back stiffness can affect posture, shoulder movement, and neck tension.
4. Glute Roll
Tool: Foam roller
Target: Glutes and outer hip
How to do it:
- Sit on the foam roller.
- Cross one ankle over the opposite knee.
- Lean slightly toward the crossed-leg side.
- Roll slowly over the glute area.
- Continue for 30–60 seconds per side.
Coaching tip:
Keep pressure controlled. Avoid forcing a painful position.
5. Quad Roll
Tool: Foam roller
Target: Front thigh
How to do it:
- Lie face down with the roller under one thigh.
- Support yourself on your forearms.
- Roll from upper thigh to above the knee.
- Move slowly.
- Continue for 45–90 seconds per side.
Why it helps:
Quad release may support squat, lunge, and knee-comfort preparation when paired with strength and mobility work.
6. Lumbar Paraspinals (Use Caution)
Tool: Foam roller or ball, only with careful control
Target: Muscles beside the lower spine
The lower back needs extra caution.
Avoid heavy pressure directly on the lumbar spine. If you include lumbar paraspinal release, keep pressure gentle and focused on the muscles beside the spine — not the spine itself.
A safer beginner option is to use a soft ball against a wall instead of lying with full bodyweight on a foam roller.
How to do it:
- Stand against a wall.
- Place a soft ball beside the lower spine, not directly on it.
- Apply gentle pressure.
- Breathe slowly.
- Continue for 20–30 seconds per side.
Stop if symptoms increase.
How to Integrate Myofascial Release Into Your Exercise Routine
The PureFit Coach Team suggests using self-myofascial release in three ways:
Before workouts
Use short release work on tight areas, then follow with mobility and activation.
Example:
- quad roll
- hip mobility
- glute activation
- lower-body strength training
After workouts
Use gentle foam rolling to reduce perceived soreness and downshift after training.
Example:
- upper back roll
- glute roll
- hamstring release
- breathing reset
On recovery days
Use longer, calmer sessions focused on comfort and movement quality.
Example:
- foot release
- upper back roll
- glute roll
- light stretching
Common Myofascial Release Mistakes We Often See
1. Pressing too hard
Painful pressure can increase guarding and tension.
More pressure is not always better.
2. Rolling too fast
Slow, controlled pressure is usually more useful than rushing.
3. Treating release work as the whole solution
Myofascial release may help you feel better, but long-term change usually requires strength, mobility, recovery, and better daily habits.
4. Rolling directly on painful joints
Avoid direct pressure on joints, bones, and sensitive areas.
5. Skipping movement afterward
After release work, move. Use mobility drills or light strength exercises to reinforce better motion.
PureFit Coach Team Suggestions
The PureFit Coach Team suggests using myofascial release as a support tool, not a stand-alone fix.
For most people:
- use 30–90 seconds per area
- keep pressure moderate
- avoid direct pressure on the spine and joints
- follow release work with mobility or activation
- combine it with a progressive strength program
- use it consistently, not aggressively
The best question is not:
“How hard can I roll?”
A better question is:
“Can I move better after this?”
Frequently Asked Questions
What is myofascial release?
Myofascial release is a soft-tissue technique that applies pressure to muscles and fascia to help reduce tension and improve movement comfort.
What is self-myofascial release?
Self-myofascial release is the at-home version using tools like foam rollers, lacrosse balls, massage balls, or roller sticks.
Does myofascial release improve flexibility?
Research suggests foam rolling and self-myofascial release may improve short-term range of motion, especially when paired with movement.
Should myofascial release hurt?
It should not feel sharp or unbearable. Mild to moderate tenderness may be normal, but pain is a signal to reduce pressure or stop.
Can myofascial release replace stretching or strength training?
No. It works best when combined with mobility, stretching, activation, and strength training.
Final Thoughts
Myofascial release can be a useful tool for mobility, soreness, and recovery when done correctly.
But it is not a magic fix.
Use it to prepare your body, reduce perceived tension, and support better movement.
Then follow it with what creates lasting change:
mobility, strength, recovery, and consistent training habits.