
Self-Myofascial Release: 8 Techniques to Try
Learn how self-myofascial release works, when to use it, and 8 simple foam roller and massage ball techniques for mobility and recovery.
Key Takeaways
Self-myofascial release uses tools like foam rollers and massage balls to apply pressure to muscles and fascia.
It may help improve short-term range of motion, reduce perceived soreness, and prepare the body for movement.
It should feel like controlled pressure, not sharp pain.
It works best when followed by mobility, activation, or strength training.
Use 30–90 seconds per area and avoid direct pressure on joints, bones, the spine, or painful injuries.
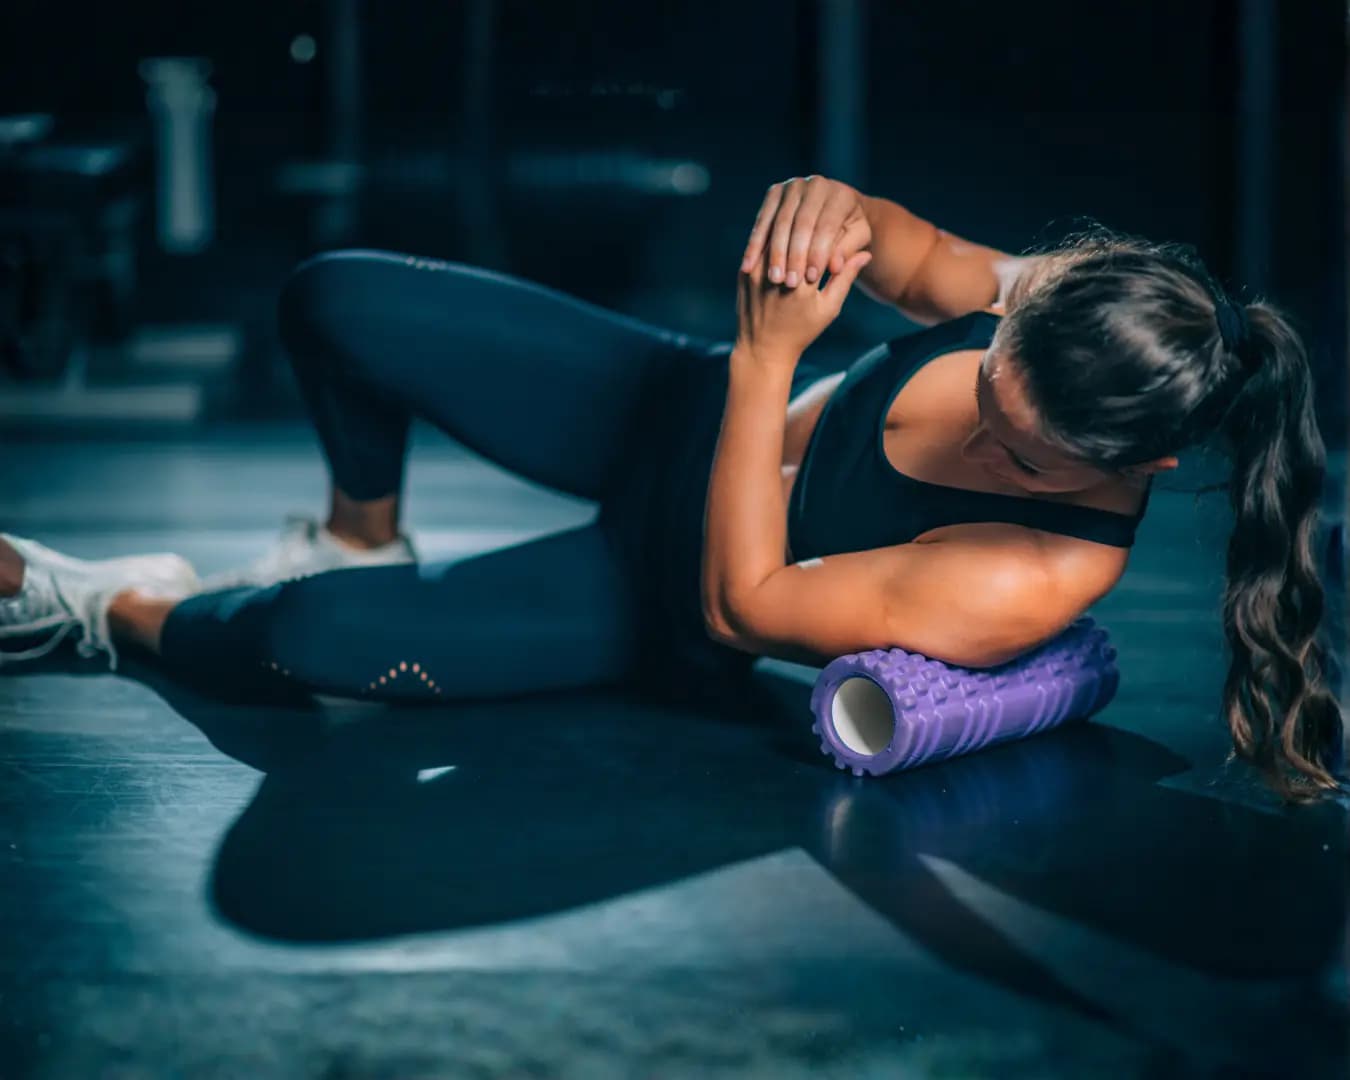
Self-myofascial release is a simple at-home recovery and mobility tool. You can use a foam roller or massage ball to apply controlled pressure to tight-feeling areas, then follow it with movement so your body can use the new range. It is not a magic fix, but it can be a useful part of a training system.
What Is Self-Myofascial Release?
Self-myofascial release, often called SMR, is a self-massage technique that uses external pressure on soft tissue.
Common tools include:
foam rollers
lacrosse balls
massage balls
roller sticks
soft therapy balls
The goal is not to “break up” fascia aggressively. A better goal is to reduce perceived tension, improve comfort, and prepare the body to move better.
Cleveland Clinic describes fascia as connective tissue that supports structures throughout the body, and myofascial release as a pressure-based therapy for tightness and pain in myofascial tissues.
Does Self-Myofascial Release Actually Work?
Research suggests self-myofascial release may help with short-term range of motion and recovery.
A systematic review on foam rolling and roller massage found that SMR may improve joint range of motion and may reduce perceived soreness after exercise. Another review found that the most evidence-supported benefit of myofascial rolling was short-term soreness reduction, with some evidence for range-of-motion improvements.
This does not mean foam rolling fixes every problem.
PureFit coaching observation: people usually get the best result when they use SMR as step one, not the whole solution.
A better sequence is:
- Release the tight-feeling area.
- Move through the available range.
- Activate the right muscles.
- Strengthen the pattern.
When Should You Use Self-Myofascial Release?
Use self-myofascial release when you feel stiff, sore, or restricted before or after training.
Good times include:
before lower-body workouts
before upper-body workouts
after strength training
on recovery days
after long sitting
before mobility drills
when a muscle feels guarded or tight
Before training, keep it short and follow with active movement.
After training, use slower pressure and breathing to support recovery.
How Long Should You Foam Roll or Use a Massage Ball?
Start with 30–90 seconds per area.
More is not always better. A systematic review on myofascial rolling duration found short-term soreness and range-of-motion benefits, with soreness reduction being one of the clearest findings.
A simple rule:
30 seconds: quick warm-up
60 seconds: general release
90 seconds: recovery focus
More than 2 minutes: usually unnecessary for beginners
PureFit coaching cue: stop when the area feels slightly more comfortable, not when it becomes numb or painful.
How Hard Should Self-Myofascial Release Feel?
Self-myofascial release should feel like moderate pressure.
Use a 1–10 discomfort scale:
1–3: too light for most release work
4–6: good working range
7–8: probably too intense
9–10: stop
You should be able to breathe normally. If you hold your breath, tense your face, or brace against pain, reduce pressure.
Avoid rolling directly on:
joints
bones
the spine
bruises
swollen areas
numb areas
acute injuries
varicose veins
sharp pain points
Which Self-Myofascial Release Exercises Are Best?
Below are eight practical techniques from the PureFit Coach exercise library.
You do not need all eight every day. Pick 2–4 areas based on your workout and where you feel restricted.
1. How Do You Do Foot Release With a Massage Ball?
Exercise: Foot-release-BL
Tool: Massage ball or lacrosse ball
Best for: Foot stiffness, standing fatigue, walking comfort
How to do it:
Stand or sit with one foot on the ball.
Roll from heel to forefoot slowly.
Pause on tender areas.
Keep pressure comfortable.
Continue 30–60 seconds per foot.
PureFit coaching cue: start seated if the ball feels too intense. Foot release should feel useful, not sharp.
2. How Do You Release the Hamstrings With a Ball?
Exercise: Hamstring-release-BL
Tool: Massage ball
Best for: Back-of-thigh tightness and sitting-related stiffness
How to do it:
Sit on a chair or firm surface.
Place the ball under one hamstring.
Slowly bend and straighten the knee.
Shift slightly to find tender areas.
Continue 30–60 seconds per side.
Avoid pressure directly behind the knee. Stay on the muscle belly.
3. How Do You Release the Glutes and Piriformis?
Exercise: Gluteal-piriformis-release-BL
Tool: Massage ball
Best for: Glute tightness, hip stiffness, long sitting
How to do it:
Sit on the floor or against a wall.
Place the ball under one glute.
Cross the same-side ankle over the opposite knee if comfortable.
Roll slowly in small areas.
Continue 30–60 seconds per side.
PureFit coaching cue: if the floor version is too intense, do this against a wall first.
4. How Do You Use a Foam Roller for the Upper Back?
Exercise: FR-back-roll
Tool: Foam roller
Best for: Upper-back stiffness and desk posture
How to do it:
Lie on your back with the roller under your upper back.
Support your head with your hands.
Roll from mid-back to upper back.
Avoid the neck and lower back.
Continue 45–90 seconds.
This pairs well with shoulder mobility drills and posture work.
See our blog post about Mobility Drills for Shoulders here.
5. How Do You Foam Roll the Quads?
Exercise: FR-quad roll
Tool: Foam roller
Best for: Front-thigh tightness, squat and lunge preparation
How to do it:
Lie face down with the roller under one thigh.
Support your body with your forearms.
Roll from upper thigh to above the knee.
Move slowly.
Continue 45–90 seconds per side.
Do not roll directly over the kneecap. Keep the pressure controlled.
6. How Do You Release the Hip Flexors?
Exercise: Hip-flexor-release-BL
Tool: Massage ball
Best for: Front-hip tightness from sitting
How to do it:
Lie face down or use a wall-supported variation.
Place the ball near the front of the hip muscle area, not on the hip bone.
Apply gentle pressure.
Breathe slowly.
Continue 20–45 seconds per side.
This area can be sensitive. Use less pressure than you think.
See our blog post about Stretching Hip Flexors here.
7. How Do You Release the Lats With Arm Elevation?
Exercise: Lat-release-with-arm-elevation-BL
Tool: Foam roller or ball
Best for: Shoulder overhead mobility and upper-body workouts
How to do it:
Lie on your side with the roller or ball under the side-back muscle.
Keep pressure below the armpit, not directly in it.
Slowly raise and lower the arm.
Move gently.
Continue 30–60 seconds per side.
PureFit coaching cue: if overhead movement feels restricted, release the lat first, then do active shoulder mobility.
See our blog post about Fixing Rounded Shoulders here.
8. How Do You Release the Front Shoulder With a Ball?
Exercise: Anterior-shoulder-ball-release-wall-BL
Tool: Massage ball
Best for: Front-shoulder tension and rounded posture patterns
How to do it:
Stand facing a wall.
Place the ball on the front shoulder muscle area.
Apply light to moderate pressure.
Move in small circles.
Continue 30–45 seconds per side.
Avoid pressing into the shoulder joint. Stay on soft tissue.
This can pair well with band external rotations or wall angels after release work.
What Is a Simple Self-Myofascial Release Routine?
Use this 8-minute routine after desk work or before a workout.
- Foot Release — 45 seconds per side
- FR Back Roll — 60 seconds
- Gluteal/Piriformis Release — 45 seconds per side
- FR Quad Roll — 60 seconds per side
- Lat Release With Arm Elevation — 45 seconds per side
Then follow with 3–5 minutes of mobility or activation.
Good options include:
hip mobility drills
glute bridges
shoulder CARs
wall angels
band rows
bodyweight squats
See our blog post about Beginner Strength Training here.
See our blog post about Mobility Exercises here.
Should You Use Self-Myofascial Release Before or After Exercise?
Use self-myofascial release before exercise when stiffness limits movement.
Before exercise:
keep pressure moderate
spend 30–60 seconds per area
follow with mobility
finish with activation
avoid long relaxing sessions
Use it after exercise when the goal is recovery.
After exercise:
move slower
breathe deeply
use 60–90 seconds per area
avoid painful pressure
pair with light stretching
NASM describes foam rolling and SMR as tools that fit into corrective exercise and recovery contexts, especially when paired with other movement strategies.
What Mistakes Should You Avoid With Self-Myofascial Release?
The most common mistake is using too much pressure.
Other mistakes include:
rolling too fast
chasing pain
rolling directly on joints
skipping movement afterward
using SMR instead of strength training
staying on one spot too long
using a very hard ball too early
expecting permanent change from one session
PureFit coaching observation: if someone foam rolls the same tight area every day but never strengthens the related movement pattern, the tightness usually returns.
Release work opens the door. Training teaches the body what to do next.
Who Should Be Careful With Self-Myofascial Release?
Self-myofascial release is not appropriate for every situation.
Be careful or seek professional guidance if you have:
severe pain
recent injury
unexplained swelling
numbness or tingling
blood-clot risk
advanced osteoporosis
skin infection or open wounds
varicose veins in the target area
nerve symptoms
pain that worsens with pressure
Stop if symptoms increase.
Self-myofascial release should make movement feel more comfortable, not more irritated.
How Does PureFit Use Self-Myofascial Release in Coaching?
The PureFit Coach Team uses self-myofascial release as a support tool, not the main workout.
A typical coaching sequence looks like this:
Identify the movement limitation.
Use SMR on the most relevant tight-feeling area.
Add a mobility drill for the same pattern.
Activate the muscle group that needs control.
Integrate the pattern into strength training.
Example for rounded shoulders:
anterior shoulder release
lat release with arm elevation
shoulder mobility drill
band external rotation
wall angel or band pull-apart
Example for tight hips:
hip flexor release
glute/piriformis release
hip mobility drill
glute bridge
split squat or squat pattern
PureFit Coach builds personalized at-home strength, mobility, and recovery plans so you know when to use release work, what to do after it, and how to progress safely. More info here.
Frequently Asked Questions About Self-Myofascial Release
Is self-myofascial release the same as foam rolling?Foam rolling is one type of self-myofascial release. SMR can also use massage balls, lacrosse balls, roller sticks, or other tools.
Can self-myofascial release help soreness?It may help reduce perceived soreness in the short term, especially after intense exercise. Research is supportive but not unlimited, and effects vary by person.
Should self-myofascial release hurt?No. It can feel tender, but it should not feel sharp, unbearable, or nerve-like. Keep pressure in a moderate range.
Can self-myofascial release replace stretching?No. It may support range of motion, but it works best with mobility drills, stretching, activation, and strength training.
How often should I do self-myofascial release?Many people can use it 2–5 times per week, depending on training load, soreness, and stiffness. Short sessions are usually enough.
What is the best tool for beginners?A medium-density foam roller and a softer massage ball are usually better starting tools than a very hard lacrosse ball.
Final Thoughts
Self-myofascial release is useful when you use it correctly.
Do not chase pain.
Do not roll randomly.
Do not stop after release work.
Pick the area that affects your movement, apply controlled pressure, then follow with mobility, activation, or strength training.
That is how SMR becomes part of a real fitness system — not just another recovery trend.
Sources to Review
Cleveland Clinic — Myofascial Release Therapy
Cleveland Clinic — Fascia Tissue Function
NASM — Foam Rolling and Self-Myofascial Release Guide
Systematic Review — Foam Rolling, ROM, Recovery, and Performance
Systematic Review — Myofascial Rolling Duration, Recovery, ROM, and Performance